How to create a new Azure Devops account and connect to Lifecycle Services (LCS) Dynamics 365 Finance and Operations project.
In this article, I will try to explain how to create a new Azure DevOps account, start a new project and connect it to Lifecycle Services. Since I did not have a new account while preparing this article, I used some pictures from old projects. However, I think it will be enough to make my point.
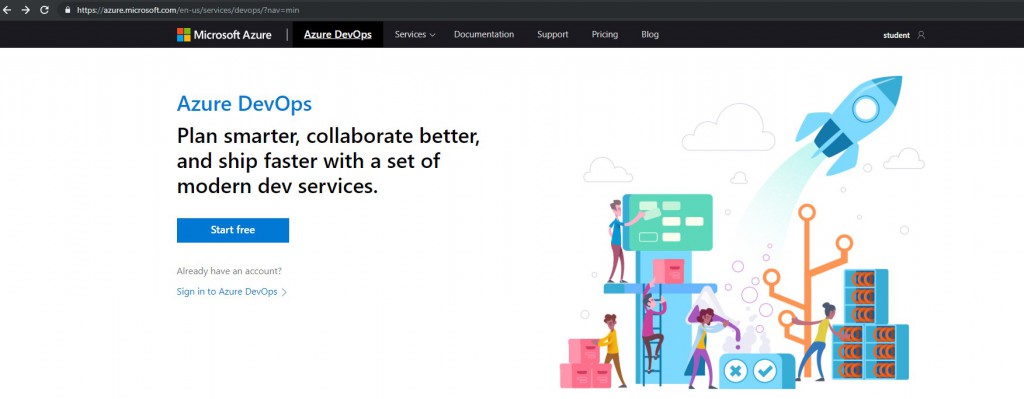
If you already have an account, you can use it. If not, you can start creating a new Azure DevOps account with a new mail using the Start free button on the screen below.
Image-1
First, you will pass certain steps and reach the Organization step. If you are making this installation for a customer or company, it is useful to use an appropriate mail and give the names correctly. You can choose where the project will be hosted. It makes more sense for us to choose Europe.
Image-2
When you continue, the screen below will appear. Click on Organization Settings.
Image-3
Since Lifecycle Services supports the old URL format, here you need to turn off Use the new URL.
Image-4
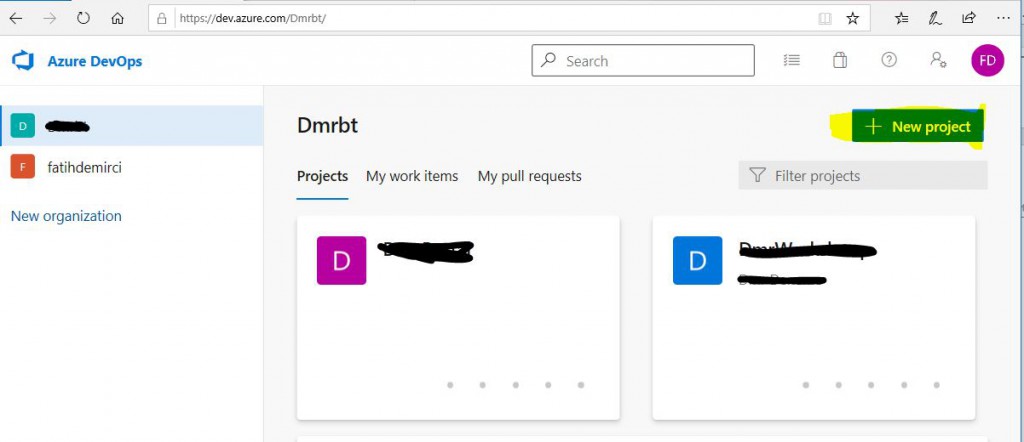
After this step, your account will be ready. If you already have an account like I do, you can log in directly and go to the project page. Start creating a new project with the New Project button.
Image-5
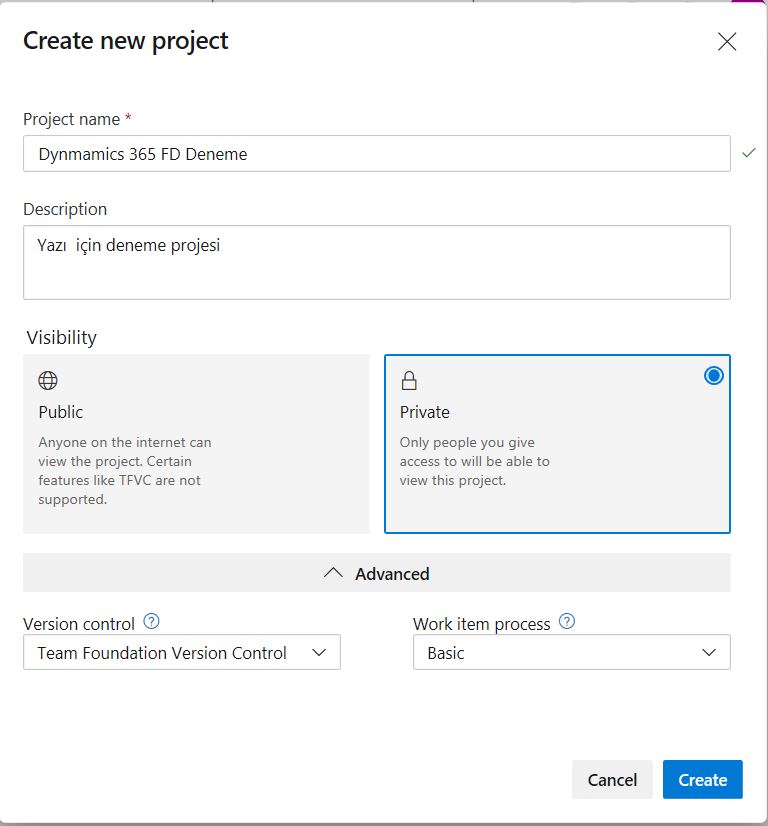
The name and description of the project is very important. We usually choose Private projects. There are two options in Version Control. Git is not officially supported but I’ve seen projects using it. We select TFVC. In the Work Item Process section, you can set up a project and choose the one that suits your methodology. When you click on the Create button, the project will be created.
Image-6
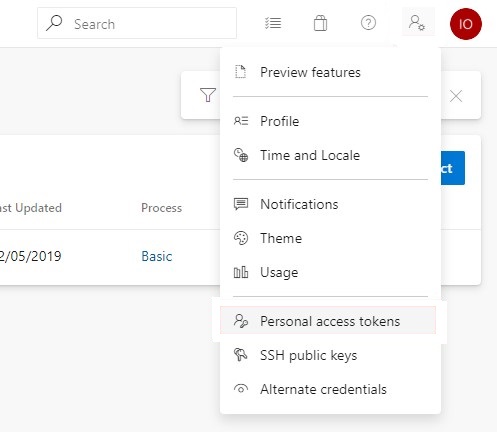
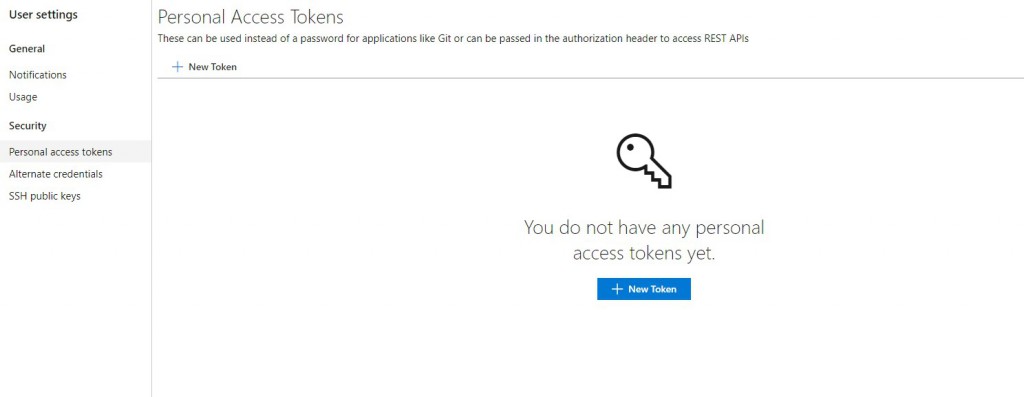
You need to create a Personal Access token from user settings. Click the path shown below to open the Personal Access token creation page.
Image-7
Click on New Token to open a new Token creation page.
Image-8
We define its name and authorization. Currently the longest duration it can be created for is 1 year. It is useful to give it full control.
Image-9
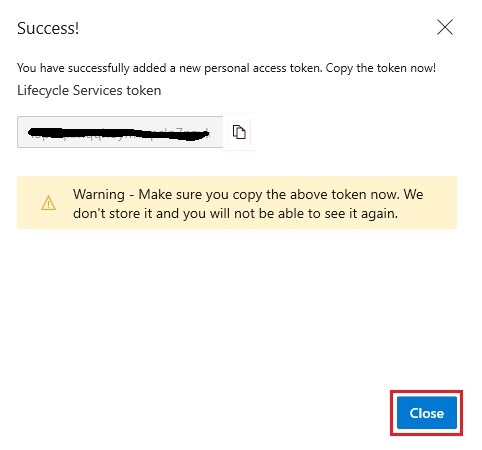
When you click Create, a new Token will be created and a screen like the one below will appear. It is not possible to reopen this page, so make sure to copy and note the Token created.
Image-10
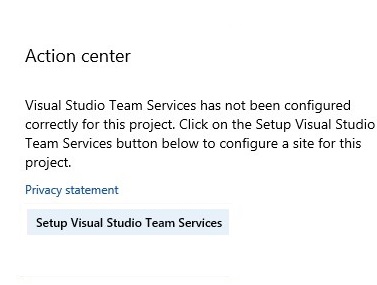
When you select your Lifecycle Services login project, if you click the Azure DevOps link from the hamburger menu, you open the page with a setup link.
Image-11
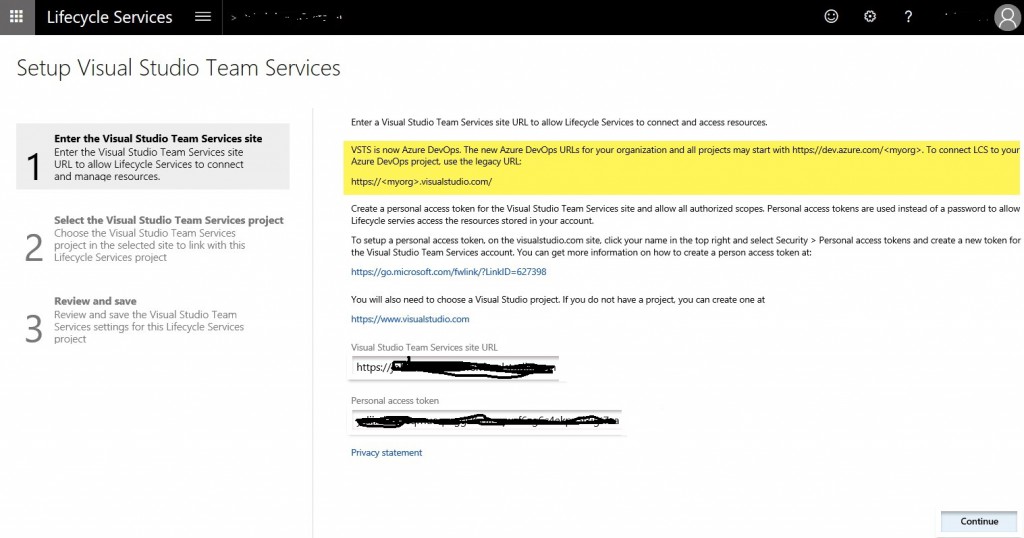
When you click on Setup Visual Studio Team Services, the following page will open. Paste the URL and Token you created here.
Image-12
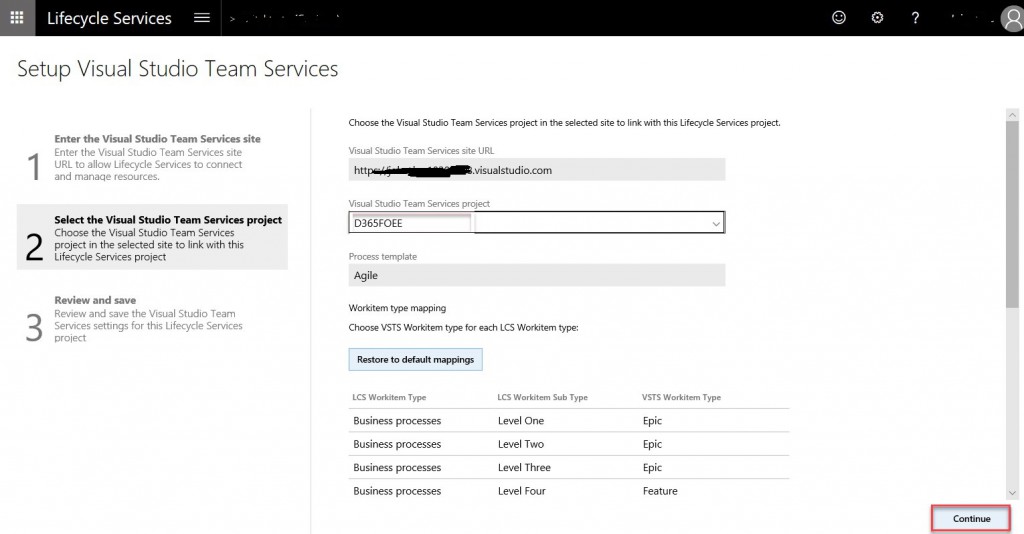
If there is no problem, you should see the project you created in the list. Select your project and continue.
Image-13
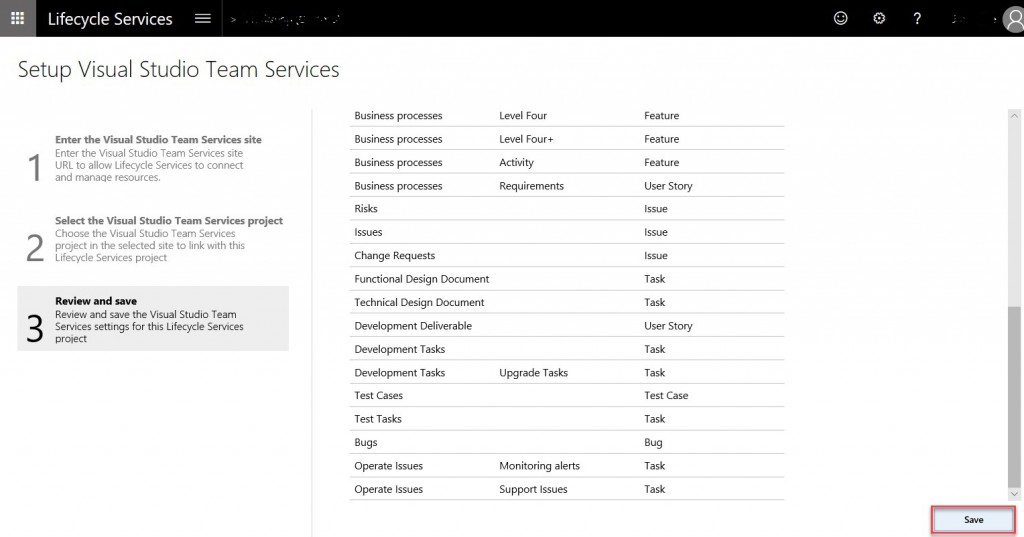
Automatic relationships are established between Azure DevOps steps and LCS steps. If you want to change them, you can, but it is OK to continue with the initial ones. Click Save to complete the connection.
Image-14
In this article, I tried to explain how Azure DevOps and Lifecycle Services are connected. These topics are new for old X++ software developers like me, but it is really easy to adapt and you may even think that it is too late when you consider the possibilities.
Regards.
www.fatihdemirci.net
TAGs: Lifecycle Services, LCS, Azure, Azure DevOps, Project onboarding, Microsoft Dynamics 365, MsDyn365FO, MsDyn365CE, MsDyn365, what is Dynamics 365, Personal Access token
