How to Set Up Azure DevOps Connection via Visual Studio in Dynamics 365 Finance and Operations Development Environment?
In this article, I will talk about what needs to be done after creating a new development environment. The first step is to log into Visual Studio. Then, I will explain how to connect to the Azure DevOps project. I intend to summarize the steps to be taken before starting development in a few articles.
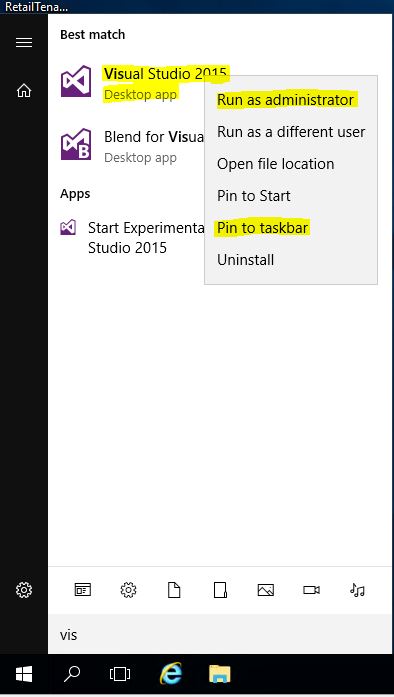
In these installations, I will use the development environment we built on Azure. I explained how to deploy a development environment in my previous articles. Once the machine is deployed, you can download and connect Remote Desktop connection information via LCS. Currently Visual Studio 2015 comes installed, but there will be a migration to new versions of Visual Studio soon. Visual Studio must be opened with Run as administrator. For convenience, right click on Visual Studio and click Pin to taskbar.
Image-1
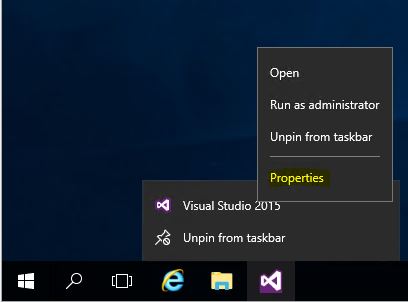
Right click on the Visual Studio icon in the task bar and click Properties
Image-2
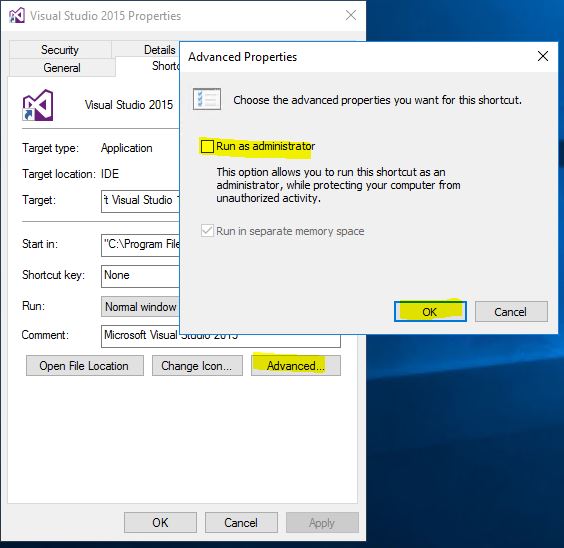
Click Advanced from the screen that opens. Check Run as administrator and click OK. This eliminates the need to do this every time you open it. Also, if you forget this, some functions do not work, and you will waste time.
Image-3
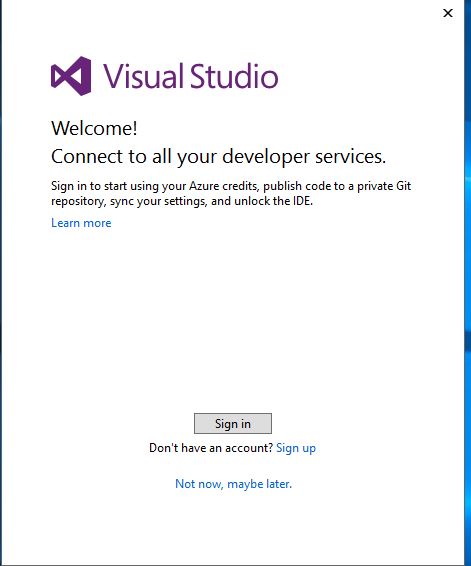
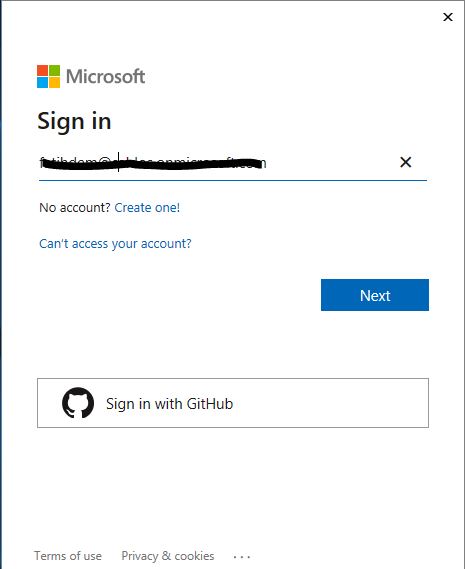
We need to Sign in with an account authorized for Visual Studio.
Image-4
I use an account created for this project.
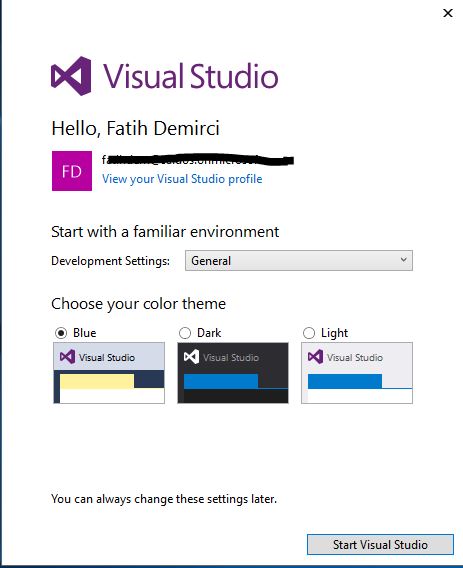
Image-5
Software developers like to use Dark themes, but I use the classic theme because I have difficulty reading on dark screen.
Image-6
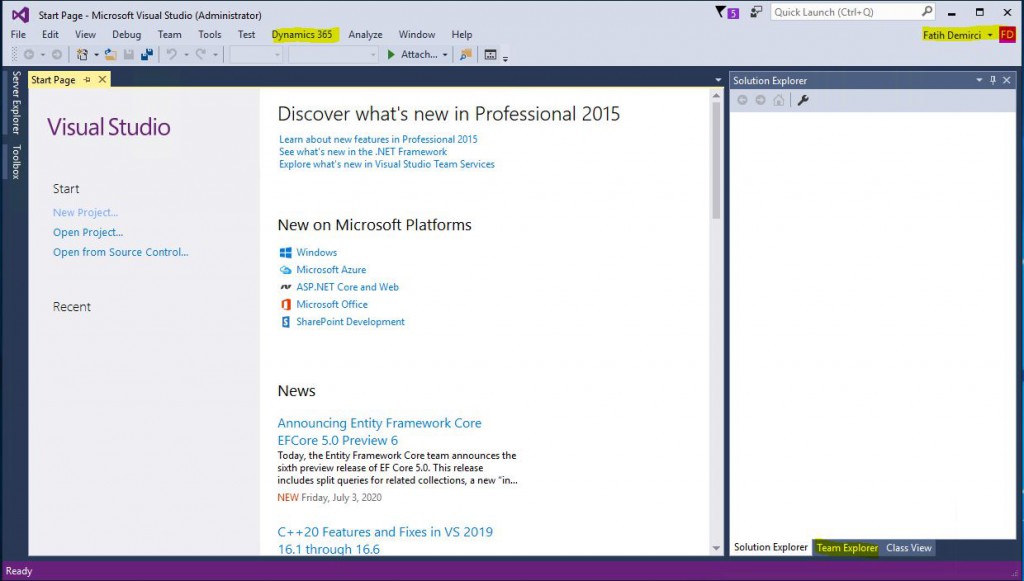
If there is no problem with your user’s authorization, your login will be completed. Dynamics 365 menu is available. I will talk about the menus here in my next articles. Now open the Team Explorer screen.
Image-7
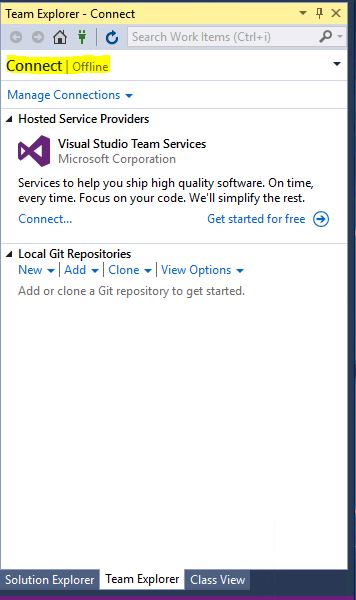
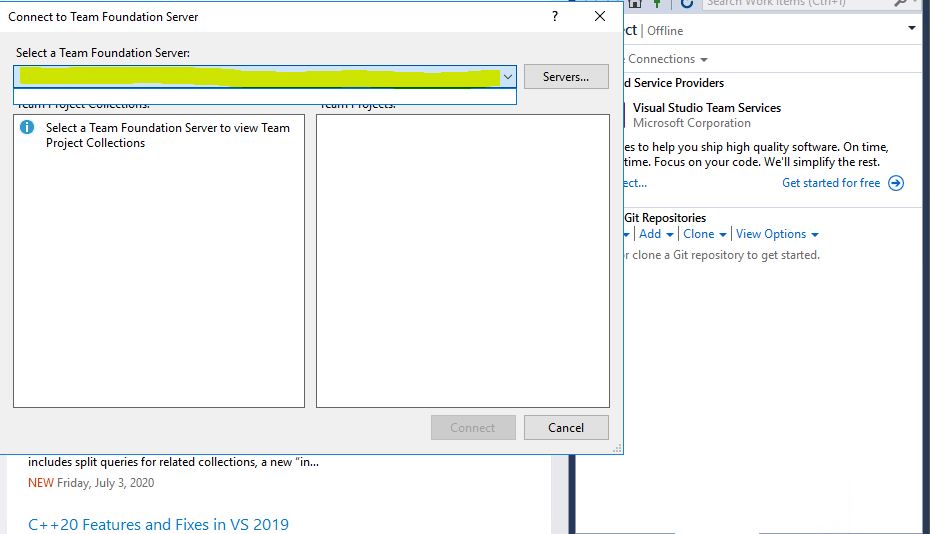
Open the connection page with the Manage Connections link.
Image-8
Nothing appears in the Select a Team Foundation Server section. The reason for this is that the user login I used to connect to Visual Studio is not authorized for the Azure DevOps project that we connect to LCS.
Image-9
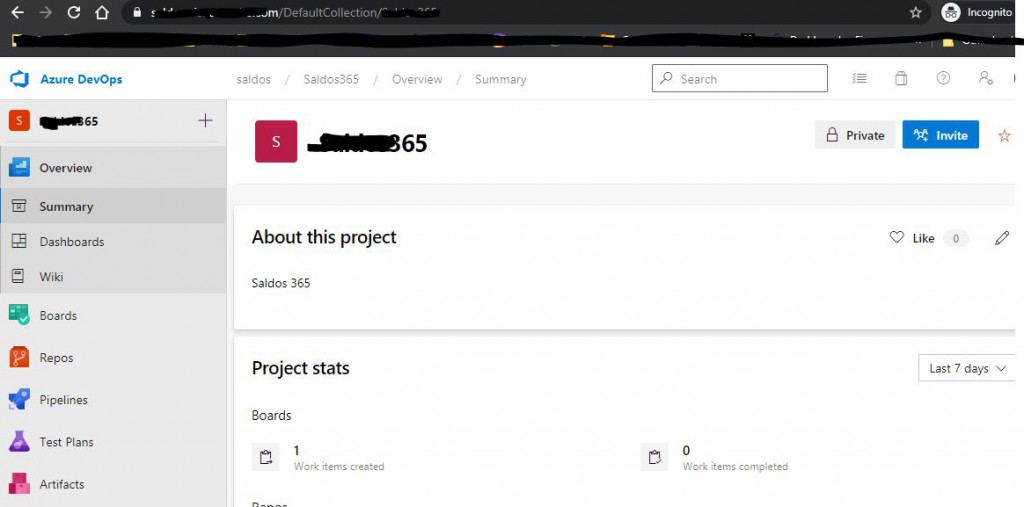
Open the Azure DevOps project and invite the user to the project by clicking Invite. Of course, you must log in with an authorized user in Azure DevOps. Since I have the information of the Admin account, I logged in with it.
Image-10
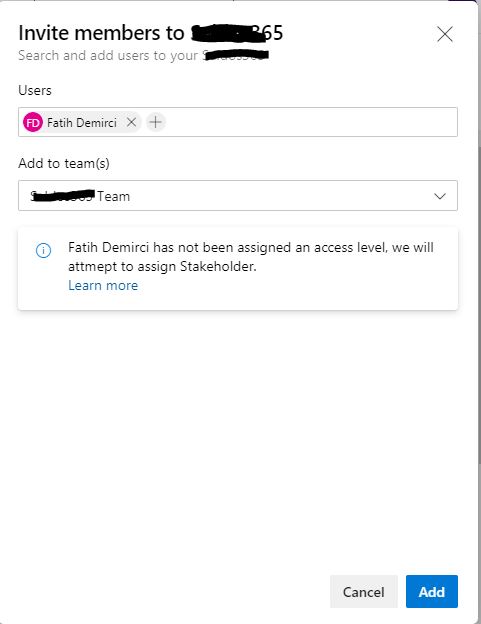
When I type my username from the search, it automatically appears. I select and add it.
Image-11
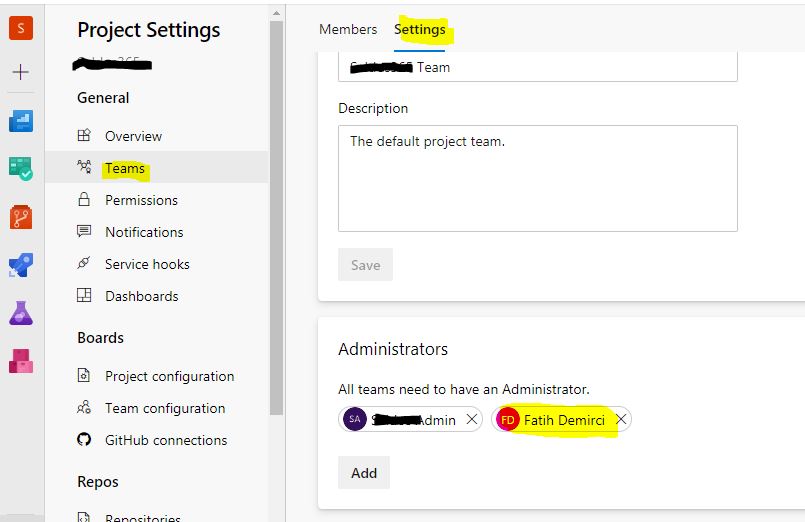
Also, since I want to have Admin rights in this project, I add my user to the Administrators section as shown in the picture.
Image-12
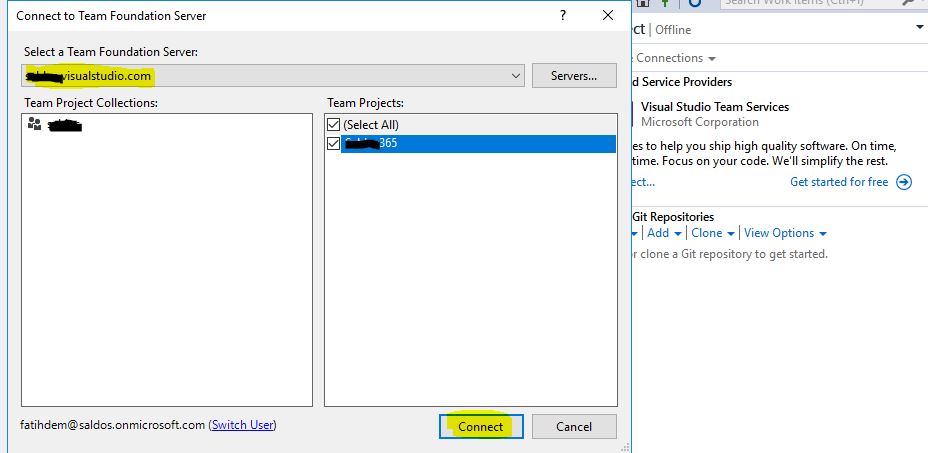
When I looked back to Visual Studio, I could see my project. To do this, you need to restart Visual Studio. Refreshing doesn’t work.
Image-13
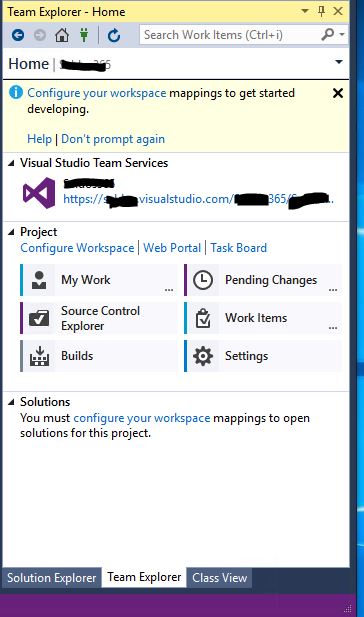
When you click Connect, you will be connected to your Azure DevOps project. You will see the link under Visual Studio Team Services as shown below.
Image-14
In this article, I talked about the initial settings required for a new Devbox. First of all, it is very important to open Visual Studio with admin rights. It is often forgotten, so I explained how to make a definition to automate it. Then, we established the connection to our Azure DevOps project, which is required for the version control of our application. Now we can move on to the other settings. I will talk about Model, Package and Branch setups in my next articles.
Regards.
www.fatihdemirci.net
TAGs: Microsoft Life Cycle Services, LCS, Azure, Azure DevOps, Microsoft Dynamics 365, MsDyn365FO, MsDyn365CE, MsDyn365, Dynamics 365 Insights Power BI, Power Automate, Power Apps, Power Virtual Agents, what is Dynamics 365, Dynamics 365 ERP, Dynamics 365 CRM
